|
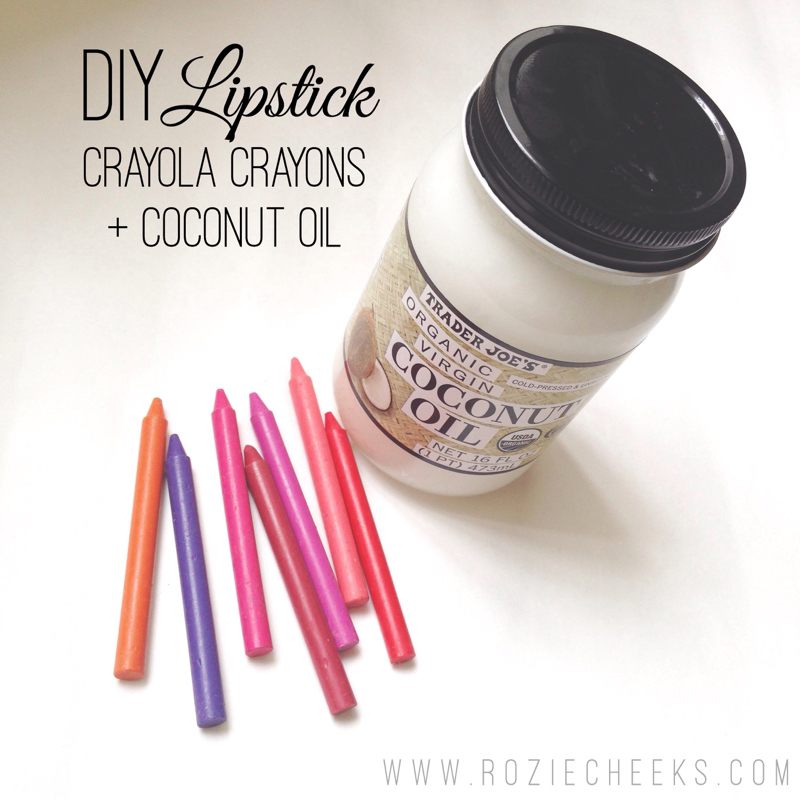
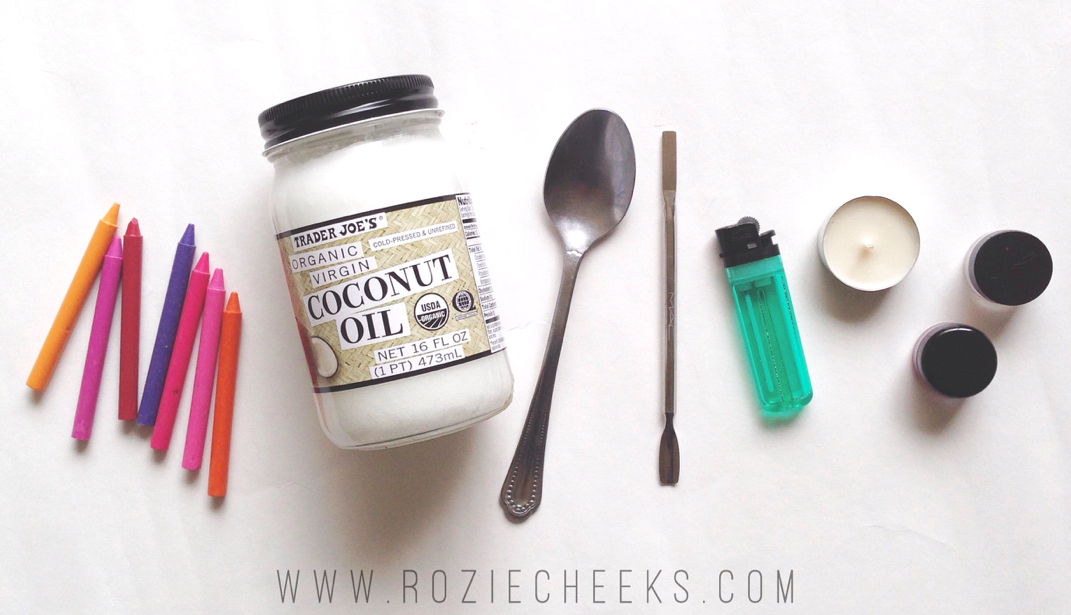
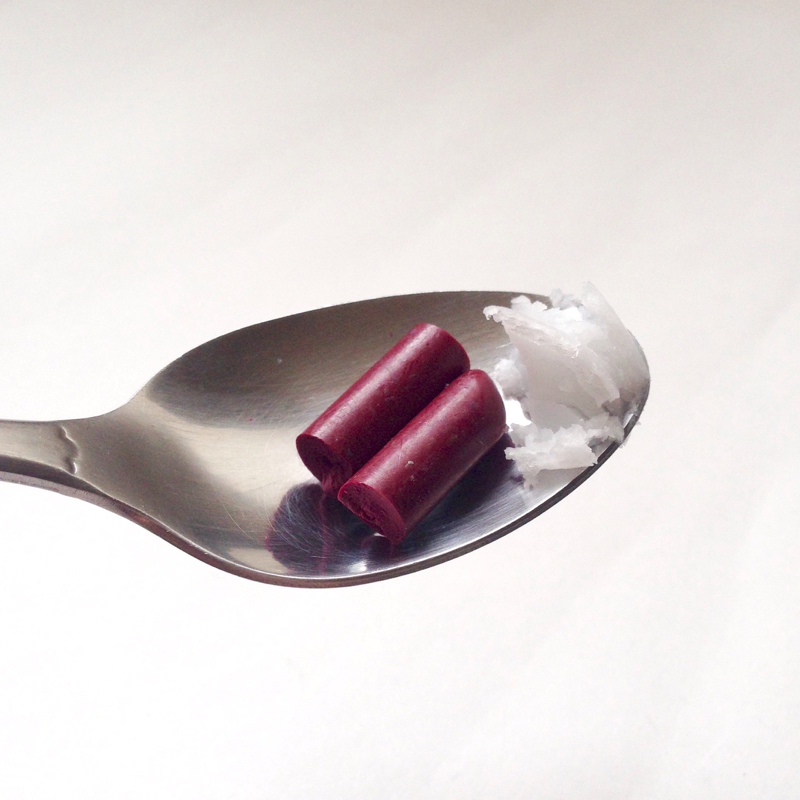
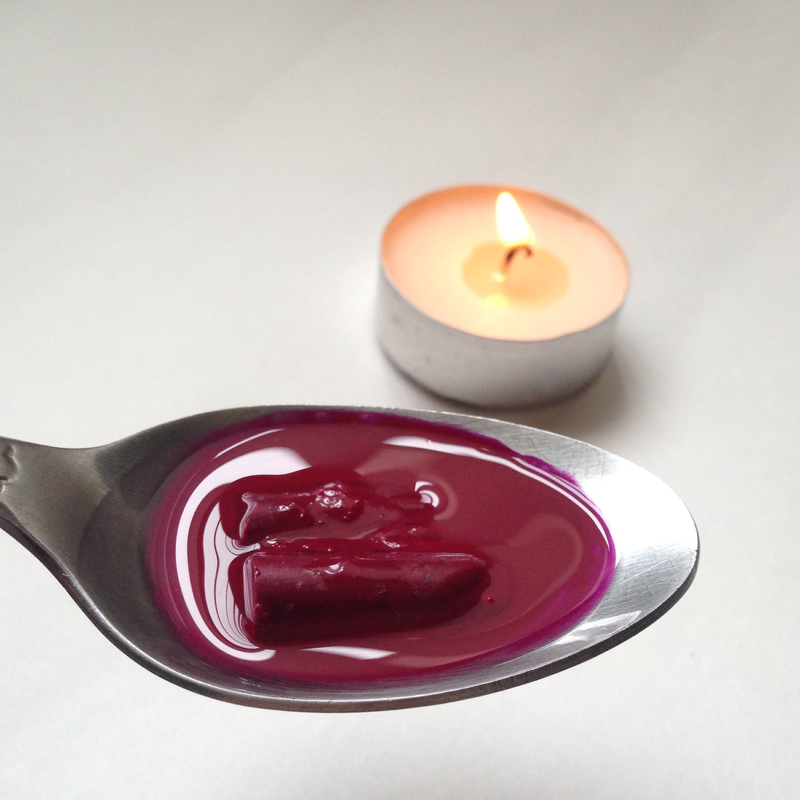
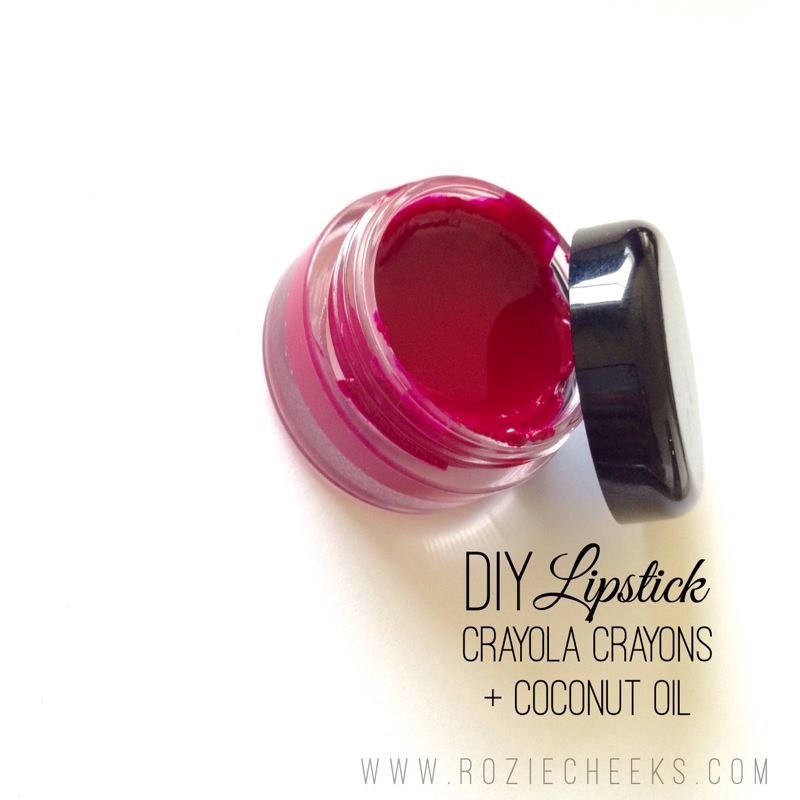
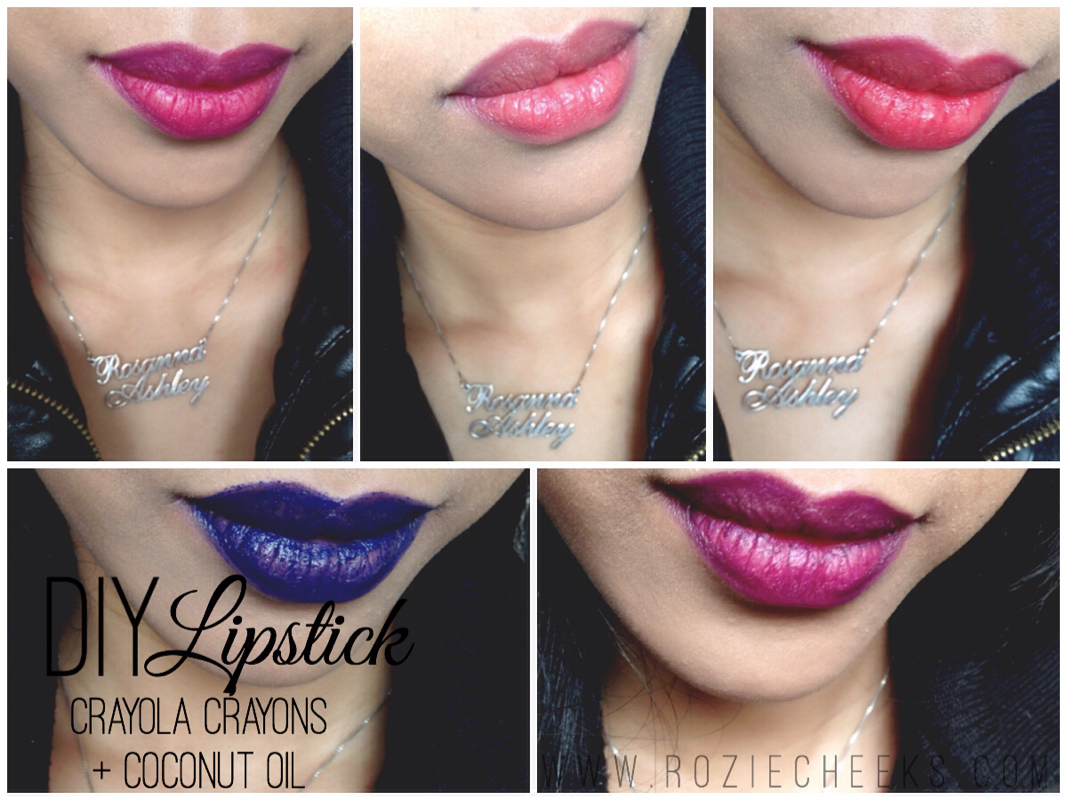
My 3 year old son is obsessed with peeling things, labels in particular! He can sit still for minutes peeling labels off bottles, toys, boxes & CRAYONS! We literally buy crayons in bulk because he's so into it. I always have crayons on hand when he needs some quiet time. He'll sit quietly, concentrating on unwrapping all his crayons. It's a little insane the amount of unwrapped crayons I have accumulating in the art corner. I started to compile a list of things to do with all these crayons. You'll be surprise on all the fun things you can do! I posted on my Pinterest a little artwork I did using melted crayons. Lately, I've been getting a little more creative & decided to make my own lipstick — using crayons! Crazy right?! It's so easy & fun to make, not to mention non-toxic & super hydrating on the lips. You will need -- Unwrapped crayons - I recommend Crayola as they are highly pigmented & non-toxic (your favorite colors) Organic coconut oil - 1/2 teaspoon per crayon Silver spoon (tablespoon or larger) Spatula/Toothpick - mixing tool Lighter Candle Empty container Directions -- 1) Unwrap crayon & break into small pieces 2) scoop 1/2 teaspoon of coconut oil & a few crayon pieces onto a large silver spoon. If you're using a smaller spoon start off with 1/4 teaspoon of coconut oil. 3) light candle & place spoon above flame - wait a few seconds for product to completely melt 4) mix product with a spatula or toothpick to evenly disperse the ingredients 5) pour liquid into a container 6) allow liquid to solidify by placing container in the refrigerator for about 10 mins 7) done! Pair it with your favorite lip liner & apply with a clean finger or a lip brush Check out some of the lip colors I made. Top left is Red Violet (the color that is in the pot *see photo above) The middle is a mixture of Red Orange & a bunch of lighter colors. Top right is Red Orange. Bottom left is Blue. Obviously not an everyday color but super fun! I wanted it to be really dark (it's pretty sheer) so I packed it on & it started to separate a bit. I'd probably pair it up w/ a dark blue or black liner for intensity. Bottom right is a mixture of the Blue & Red Voilet. TIPS&TRICKS: • Add a little black to any color to create a deeper shade & white to lighten • Use your finger when applying to warm up the lipstick so it goes on smoothly • This is NOT a long lasting lipstick. Wear a lip liner to prevent bleeding. Crayola lipsticks are super fun to make. Next time you have unwrapped crayons laying around & need a new lipstick try this fun recipe!
Xo.
4 Comments
Natalie
2/6/2015 05:11:01 pm
This is great. Thanks so much for sharing.
Reply
S. Bonaparte
7/31/2018 11:14:58 am
Would love to see your other DIY ideas.
Reply
Emery
1/12/2021 03:49:07 pm
Thanks for sharing this! My lips get super dry during the winter so this little DIY was perfect for me! Would love to hear/read more beauty DIYs.
Reply
Leave a Reply. |
Rose RosalesWelcome to my blog - lips,lashes&ROZIECHEEKS Let's ConnectRecent PostsDIY Beauty: At Home Mini Facial
Lancome Teint Idole Ultra Wear Camouflage Concealer + Corrector | Review Beautyblender 101 I Love Referrals New Year, New Goals 2016 Best Nine L'Oreal EverCreme Moisture Care System | Review The Knot Best of Weddings 2017 The Holiday GLAM Tree Allure Beauty Box Jurlique Skin Balancing Face Oil Halloween Half Skull Makeup Tuscany Pro Makeup Chair Nature Republic Real Nature Mask Sheet Anastasia Beverly Hills x Master Palette By Mario Skindinavia Makeup Finishing Spray VS Urban Decay All-Nighter Setting Spray Garnier Micellar Cleansing Water & Waterproof Makeup Remover | Review What's In My Toddler's Travel Bag? Archives
April 2020
Categories
All
|


 RSS Feed