|
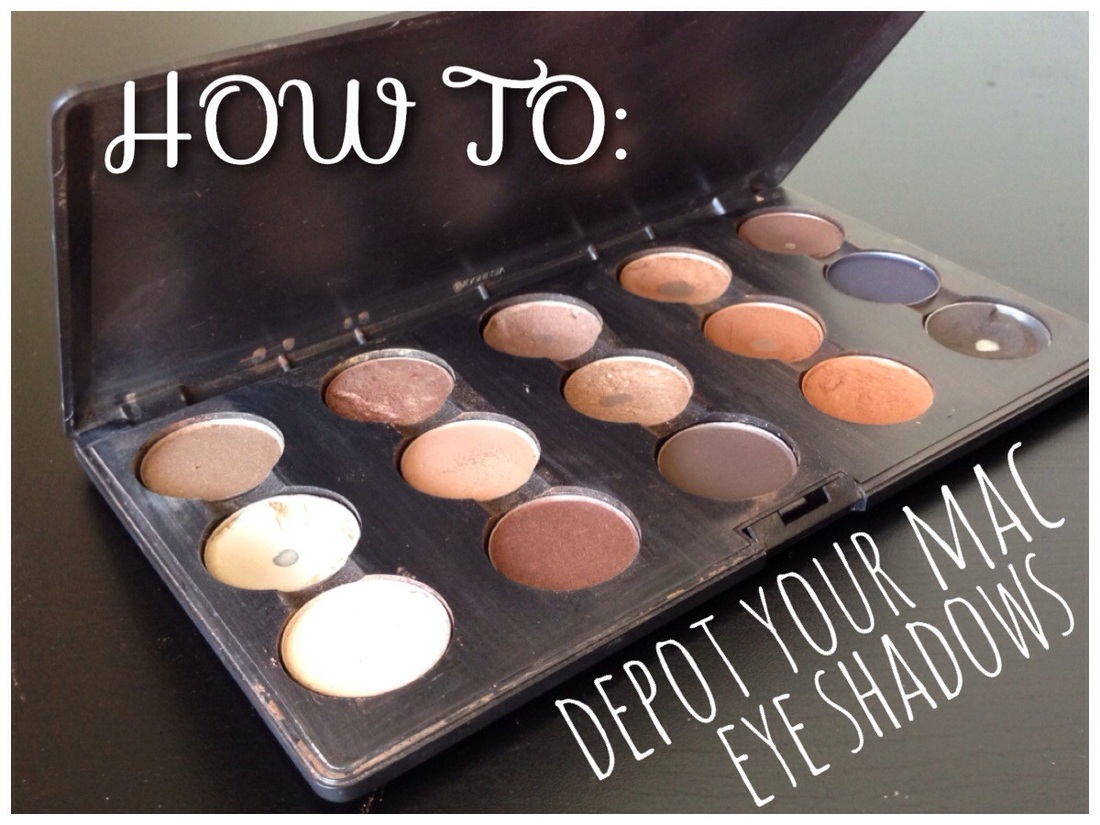
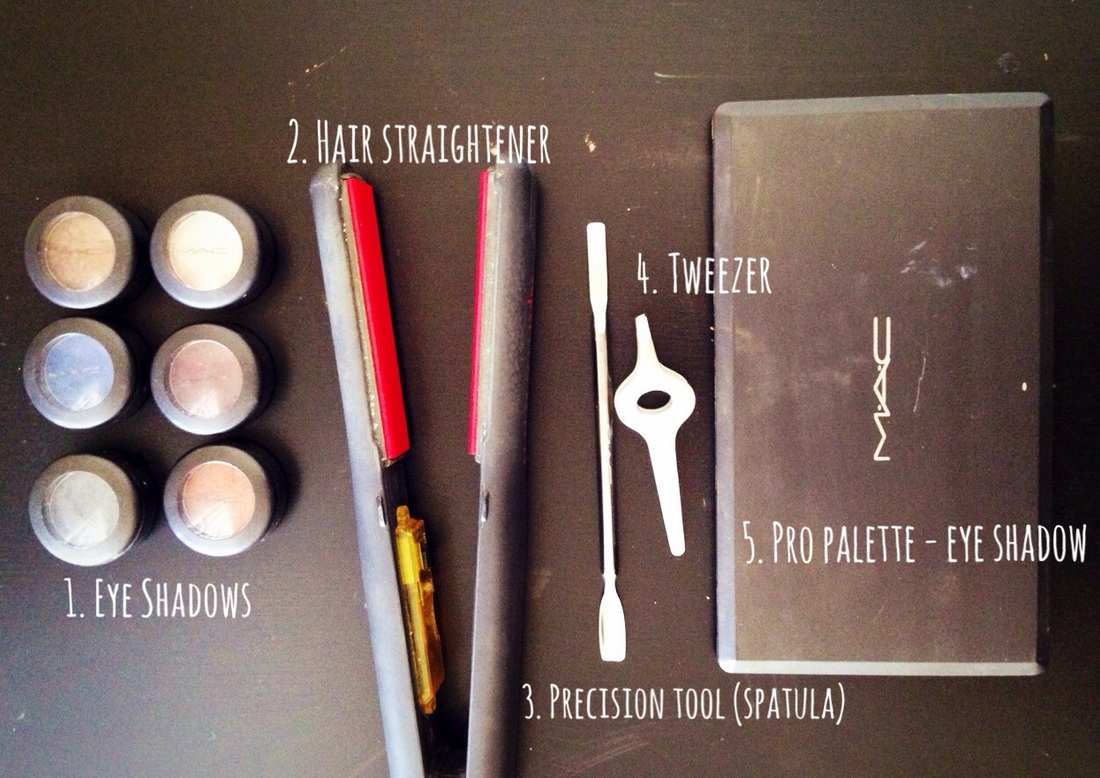
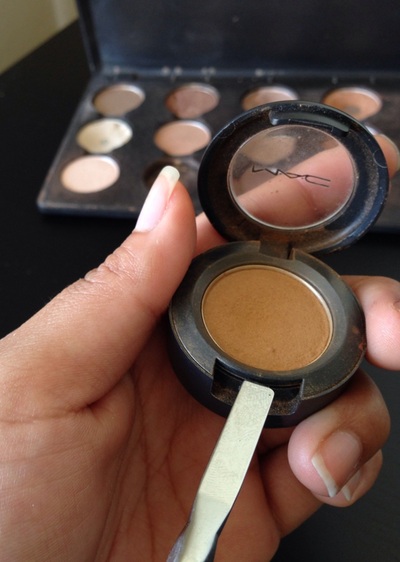
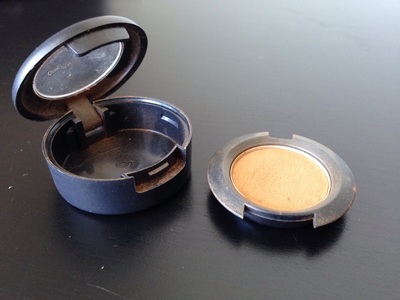
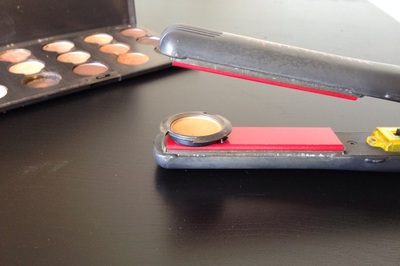
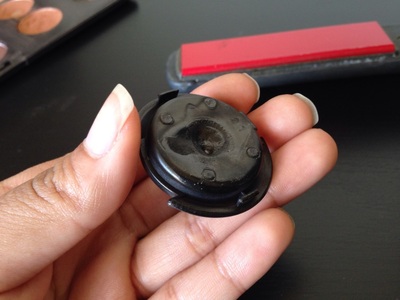
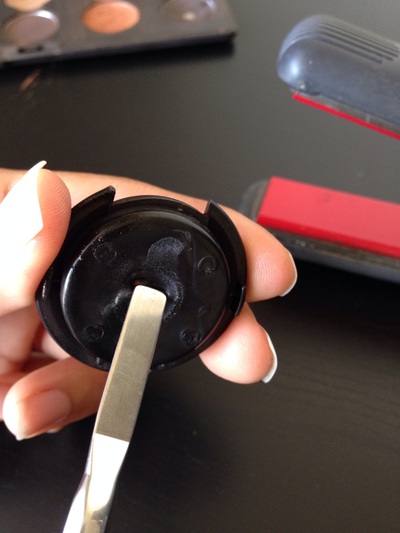
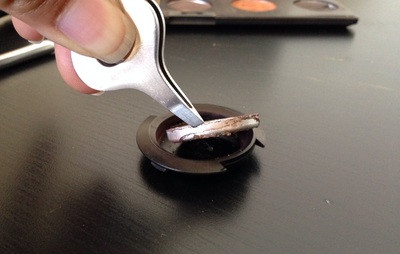
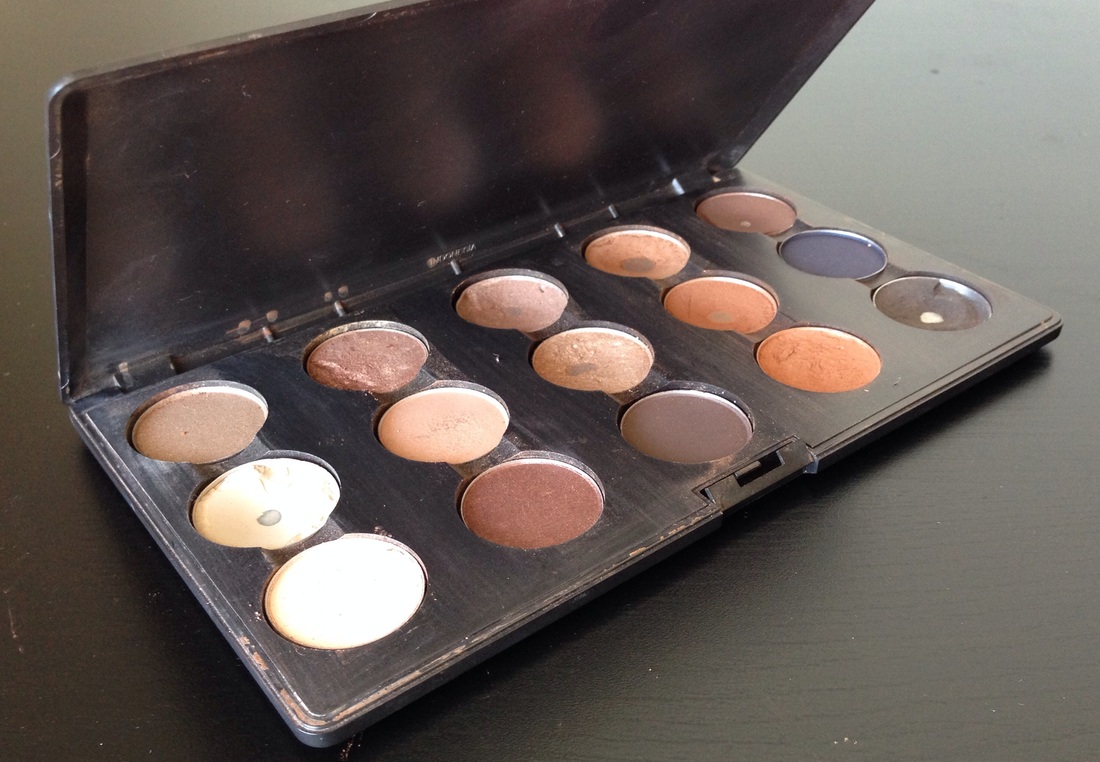
Depotting your eye shadows is an awesome way to declutter your vanity/makeup space. It also helps in time management, as you can easily find all your shadows in one specific place. I love having single eye shadow pots in my makeup collection. However, after accumulating over 100 single eye shadow pots I found it much easier & neater to store them in a palette. Follow the steps below to create and customize your own palette. **If this is your first time depotting your eye shadows, I recommend starting off with eye shadows that are older (maybe ones that are already hitting pan) or ones that you don’t mind ‘accidentally’ messing up. I only say this because the first time can be a bit tricky. Practice does make perfect tho. After your 3rd or 4th one you’ll be popping these bad boys out like a pro! Here are the tools you'll need: 1. MAC EYE SHADOW POTS (the MAC palette I'm using holds 15 eye shadows) 2. HAIR STRAIGHTENER 3. PRECISION TOOL ** if you don't have a cosmetic spatula like the one pictured you can use a nail filer that has a pointy edge** 4. TWEEZER 5. MAC PRO PALETTE - EYE SHADOW (the MAC palette pictured is an older style, the newer palettes have a see-through lid & inserts are sold separately) *optional* • parchment paper (to protect your hair straightener) • round magnets (you can get these at Michael's or your local craft store) Step 1: Turn on your hair straightener! Allow the hair straightener to reach its maximum heat. Step 2: Open the single eye shadow. Use your precision tool to pop out the eye shadow from its case Step 3: Place the eye shadow that you just removed onto your hair straightener. I am using a really old (10 years old!!) hair straightener, so I don’t really care if this process ruins it. But if you’re using a brand new straightener, I would recommend protecting the plates by placing parchment paper on it. Wait about 20-25 seconds for the heat to melt the glue. Step 4: Push out the eyeshadow with your precision tool. Be careful, as the product will be slightly hot. Use your tweezer to help you pull out the shadow if the pan is too hot. Step 5:
Allow the pan to cool & adhere your round magnet. Placing a round magnet under the pan allows you to replace or remove the pan at your convenience. If you don’t have magnets & don’t care to replace or remove your shadows you can skip the magnets & directly place the slightly heated pan in one of the slots. The slightly heated glue will adhere to the surface, making the palette its new permanent home. Step 6: LABEL! There are many ways you can label your palette. One way is heating (same as step 3) & removing the original label sticker & sticking it to were you feel is most visible (under pan, under palette, on the lid, etc) or you can simply use a label maker. I will leave this step up to you, as we all like to label in a specific way. And that’s it! You now have your very own palette!
0 Comments
Leave a Reply. |
Rose RosalesWelcome to my blog - lips,lashes&ROZIECHEEKS Let's ConnectRecent PostsDIY Beauty: At Home Mini Facial
Lancome Teint Idole Ultra Wear Camouflage Concealer + Corrector | Review Beautyblender 101 I Love Referrals New Year, New Goals 2016 Best Nine L'Oreal EverCreme Moisture Care System | Review The Knot Best of Weddings 2017 The Holiday GLAM Tree Allure Beauty Box Jurlique Skin Balancing Face Oil Halloween Half Skull Makeup Tuscany Pro Makeup Chair Nature Republic Real Nature Mask Sheet Anastasia Beverly Hills x Master Palette By Mario Skindinavia Makeup Finishing Spray VS Urban Decay All-Nighter Setting Spray Garnier Micellar Cleansing Water & Waterproof Makeup Remover | Review What's In My Toddler's Travel Bag? Archives
April 2020
Categories
All
|



 RSS Feed